How To Use A Knife Sharpener
Posted by HH on 22nd Sep 2026
A dull knife slips. It skids off a tomato skin, catches at an angle you didn't choose, and does more damage trying to cut than a sharp one ever would. Learning how to use a knife sharpener properly fixes that. It also takes less time than most people expect. We've put together this guide to walk you through every format: rods, clamp systems, pull-throughs, whetstones and steels, so you can pick the right method and get a working edge back. Our knife sharpener range covers every one of them, and we'll point you to the specific tools as we go.
Estimated reading time 8 minutes

How to sharpen dull knives
Start by working out how dull the knife actually is. That decides which tool gets reached for. A dull knife doesn't refuse to cut, it cuts unevenly. Catching on tomato skin, needing a second pass through cardboard, tearing rather than slicing through a bit of rope. That's the edge losing its shape rather than losing its material, and a light touch-up sorts it out far more often than people assume.
A blunt blade needs metal removed to reform the edge. A slightly tired one just needs realigning. Mixing up the two is a common reason people give up on sharpening. They reach for a fine ceramic rod on a blade that needs coarse work first. They get nowhere in ten minutes. They put the knife back in the drawer. The sequence was wrong, not the tool.
The starting grit matters more than any brand name on the box. Feel for a rounded-over edge with a thumbnail. A knife in that state, one that hasn't been sharpened in years, wants coarse work first: a coarse whetstone, a coarse diamond hone or the coarse slot on a pull-through. Only once that coarse pass has re-cut the bevel does a medium or fine stage make sense. Run a blunt knife straight to a fine ceramic rod and you'll polish a rounded edge to a shine without ever making it sharp. There was no edge there to polish yet.
Using a manual knife sharpener
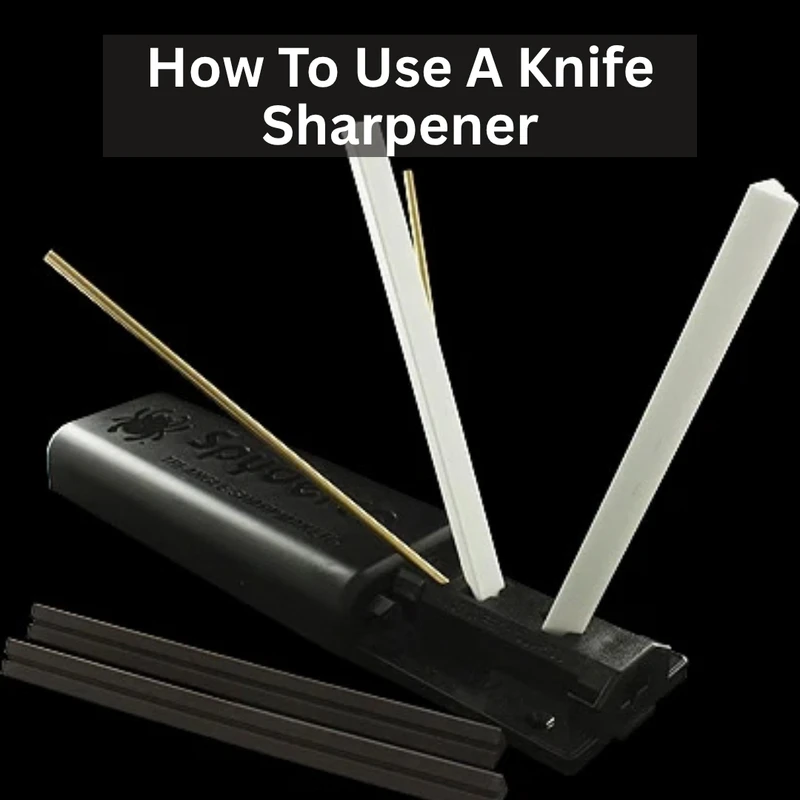
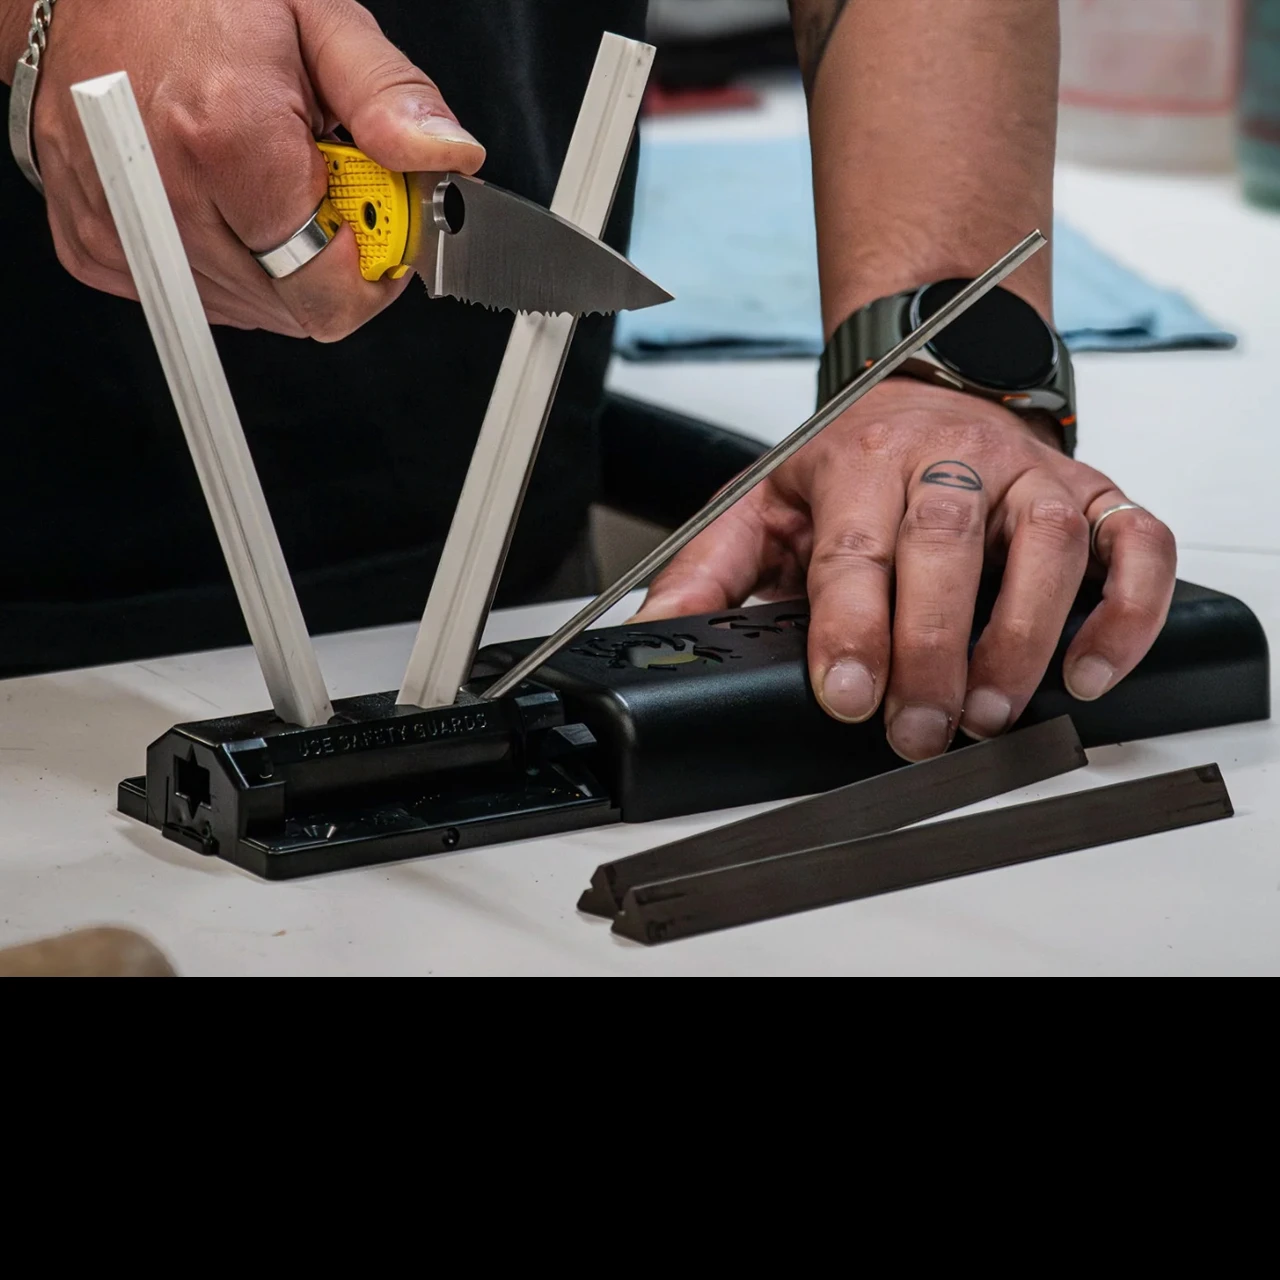
The most direct way to learn how to use a knife sharpener is with a fixed-angle rod system. It removes the one variable that trips up most beginners: holding a steady angle by eye. The Spyderco Tri-Angle Sharpmaker sets that angle for you. Its two ceramic rods sit in a moulded base at fixed 30° and 40° angles. That works out at 15° or 20° per side. A pair of medium grit rods cuts a new edge. A pair of fine white rods finishes it. You draw the blade down past the rod under light, even pressure, alternating sides, and the base does the angle-holding.
How many times should you run a knife through a sharpener?
That depends on the starting condition rather than a fixed count. A touch-up on a knife that's still reasonably sharp needs three or four passes per side on the fine rods. A properly dull knife on the medium rods needs considerably more. The way to tell you're getting somewhere isn't the stroke count. It's raising a burr - a tiny catch of displaced metal along the far side of the edge that you can feel by dragging a fingernail lightly across the blade rather than along it. Once you feel that burr the length of the edge, that side is done. Switch to the other side and raise a matching one, then finish with light alternating strokes to remove both.
Do you push or pull a knife when sharpening?
It depends on the tool, and it's worth knowing which is which before you start. On a rod system like the Sharpmaker, you draw the blade downward past the rod, edge leading, as though slicing a thin shaving off the ceramic. On a benchstone, the common technique pushes the edge forward into the stone, though plenty of experienced sharpeners pull instead. Both work provided the angle stays consistent stroke to stroke. Pressure matters more than direction here. Light and even beats hard and inconsistent, and a heavy hand is the fastest way to round over an edge you just spent ten minutes shaping.
Using a manual or electric knife sharpener
Once a blade needs more than a touch-up, the choice between manual and electric earns a proper answer rather than a preference.
A clamp system for full control
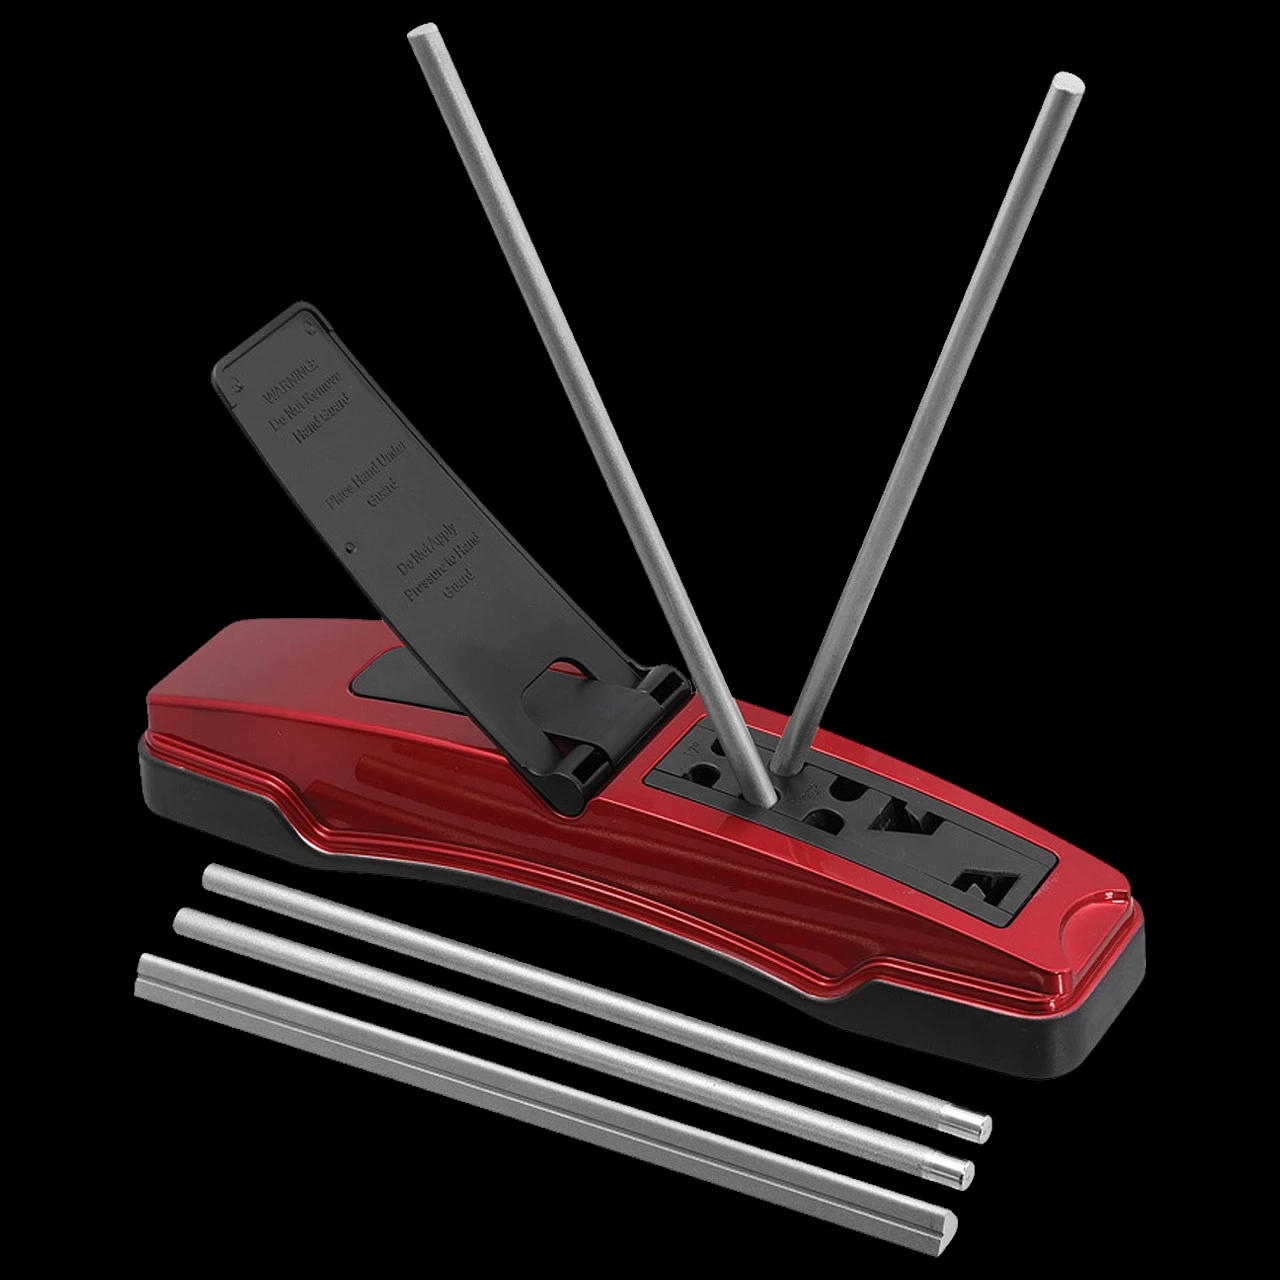
A clamp-based sharpening system holds the blade still. A hone on a rod swings through a set arc, so the angle never drifts stroke to stroke. These guided kits offer a real choice of angle. Pick 17° for a delicate edge on something like a fillet knife. Pick 20° for kitchen cutlery that needs to hold up to daily slicing. Pick 25° for a knife built to survive harder use outdoors. That's a decision a pull-through or an electric sharpener makes for you. A clamp system hands it to you instead.
An electric sharpener for speed
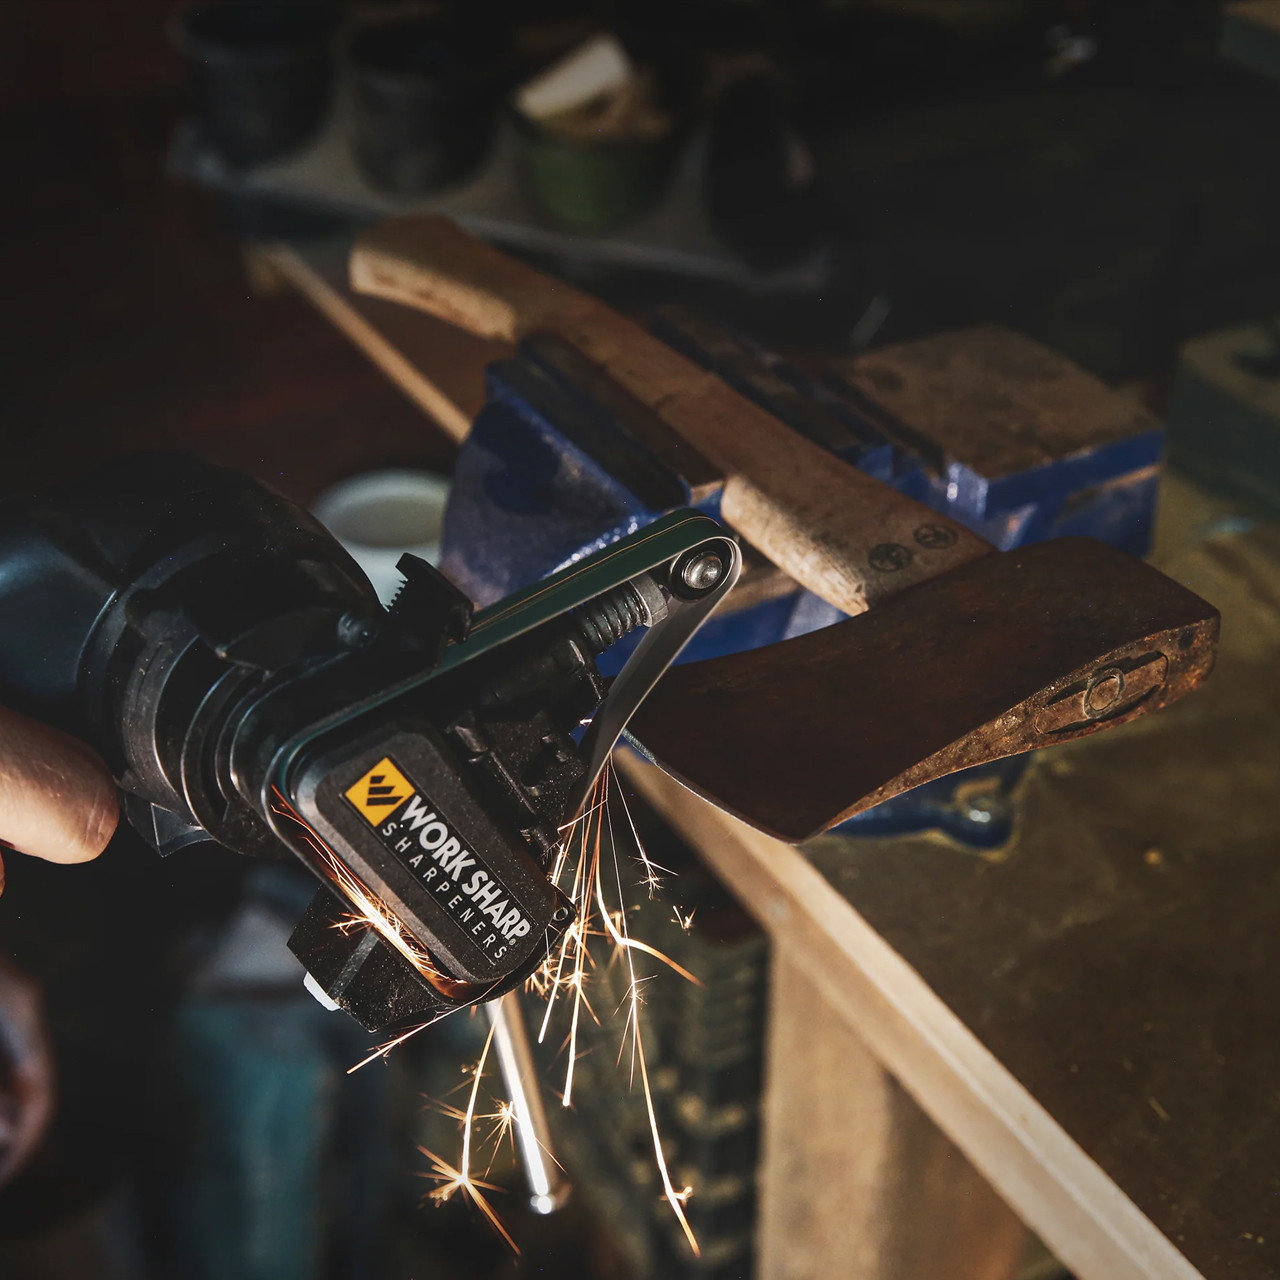
An electric sharpener wins on speed and consistency. The Work Sharp Knife & Tool Sharpener MK.2 uses a flexible abrasive belt against a fixed guide, switching between 20° for a chef's knife and 25° for something built for outdoor use with one adjustment. It'll take a pair of scissors or a garden tool like pruners through the same belt just as readily as a pocket knife. What you trade for that speed is the option to hold your own angle. That's exactly what a clamp system protects. A treasured knife with a specific factory grind is worth the extra few minutes on a manual method. A kitchen drawer full of knives that need doing before dinner is exactly what the belt system is for.
Other ways to sharpen a knife
The pull-through: quick, handheld, easy to misuse
A pull-through knife sharpener is the format most people picture when they think of sharpening at all. It's a small handheld body with slots you draw the blade through. Inside those slots sit crossed wheels. Usually one pair is tungsten carbide or diamond, for cutting a new edge. A second pair is ceramic, for finishing it. Both meet the blade at a fixed angle as it passes through.
That's the honest answer to ‘do pull through sharpeners ruin knives?’, which comes up more than any other question on this format. Used correctly, no. Used carelessly, the risk is real, and it comes from one habit. The carbide or diamond slot removes metal fast, which is what a blunt knife needs. Running a knife that's already sharp through that same coarse slot every time strips away more steel than the edge needed. Reach for the fine ceramic slot for routine maintenance, and save the coarse slot for a knife that's actually lost its edge.
Whether a knife sharpener has two slots, three slots or four comes down to how many stages the maker has split the job into. It isn't about what the tool fundamentally does. A knife sharpener with two slots typically separates coarse from fine and asks you to judge which the blade needs. A knife sharpener with three slots or a knife sharpener with four slots usually adds a stropping or polishing stage. Some add a dedicated pass for serrated sections instead. The sequence runs from cutting a new bevel through to a refined finish, all without changing tools partway through.
The whetstone gives you the most control
A whetstone is the traditional sharpening stone, and for good reason. You set the angle by hand instead of letting a guide hold it for you, so it rewards practice more than any other format here. Understanding roughly what the grit numbers mean helps before you buy one, though exact ranges vary a little between manufacturers.
| Grit range | What it's for | When to reach for it |
|---|---|---|
| Around 220 to 400 (coarse) | Reprofiling a damaged or badly rounded edge | The blade won't cut at all, or the edge has visible nicks |
| Around 1000 (medium) | Routine sharpening | Most touch-ups start and finish here |
| Above 3000 (fine) | Refining and polishing an already-shaped edge | Only after coarser grits have done the reshaping |
Skip the fine stone until the coarser grits have done their job. Skipping straight to it on a blunt knife is the same mistake as reaching for a fine ceramic rod too early. You'll polish an edge that was never properly cut in the first place.
The sharpening steel: maintenance, not repair
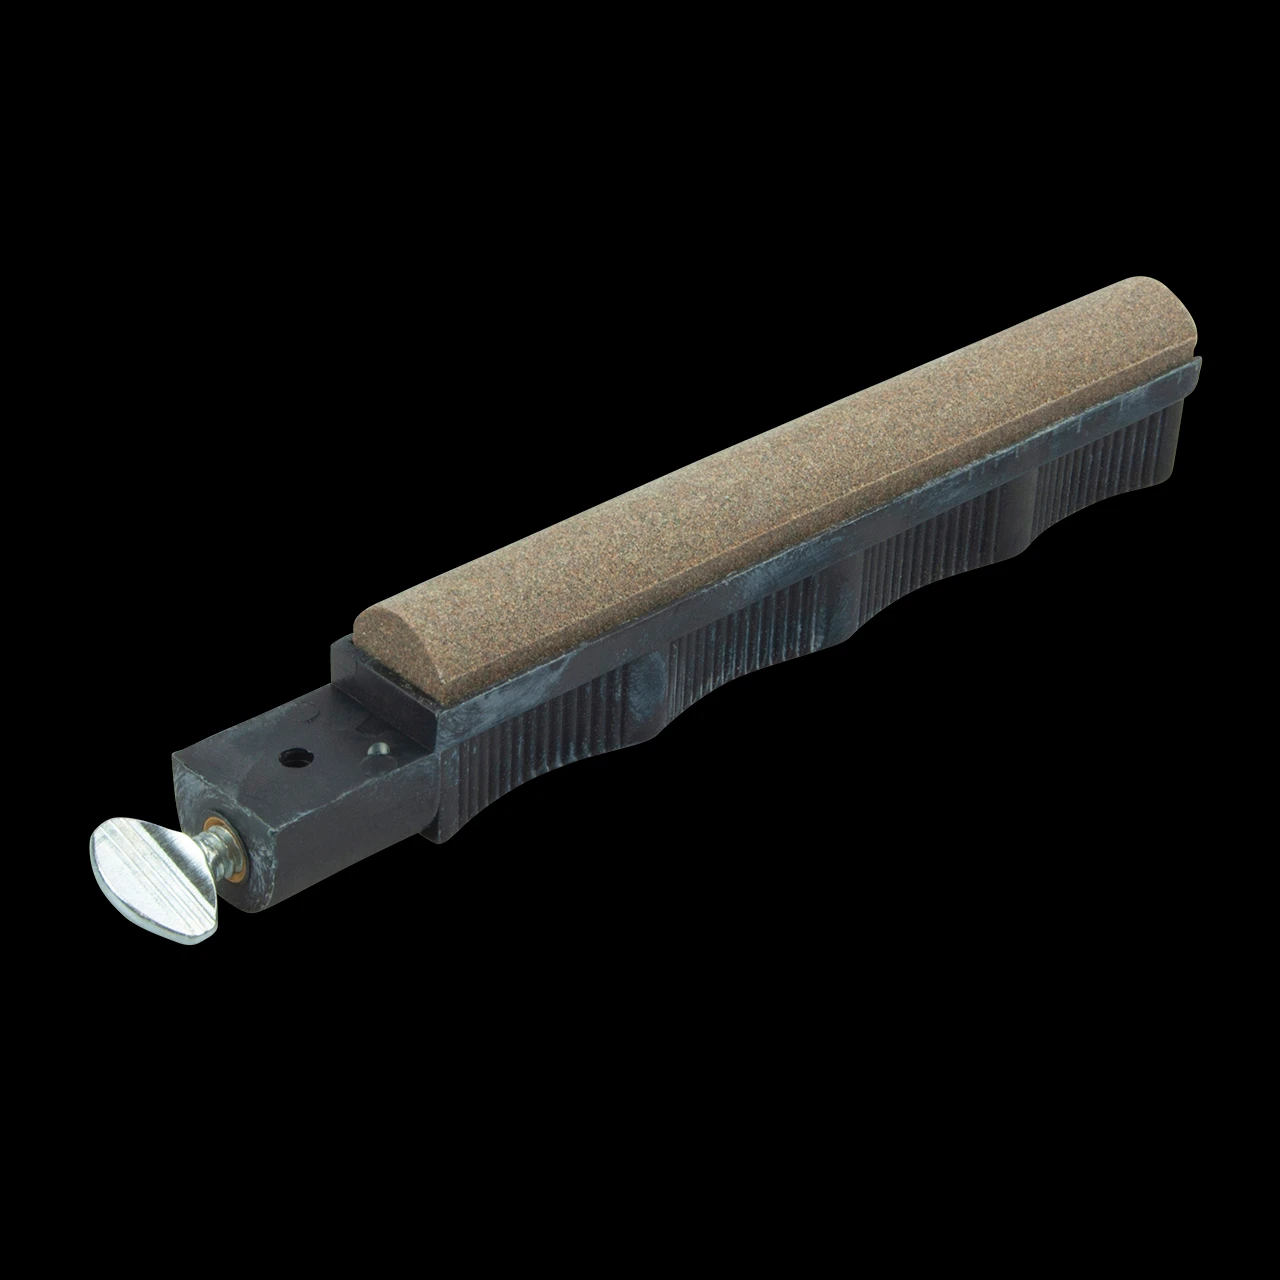
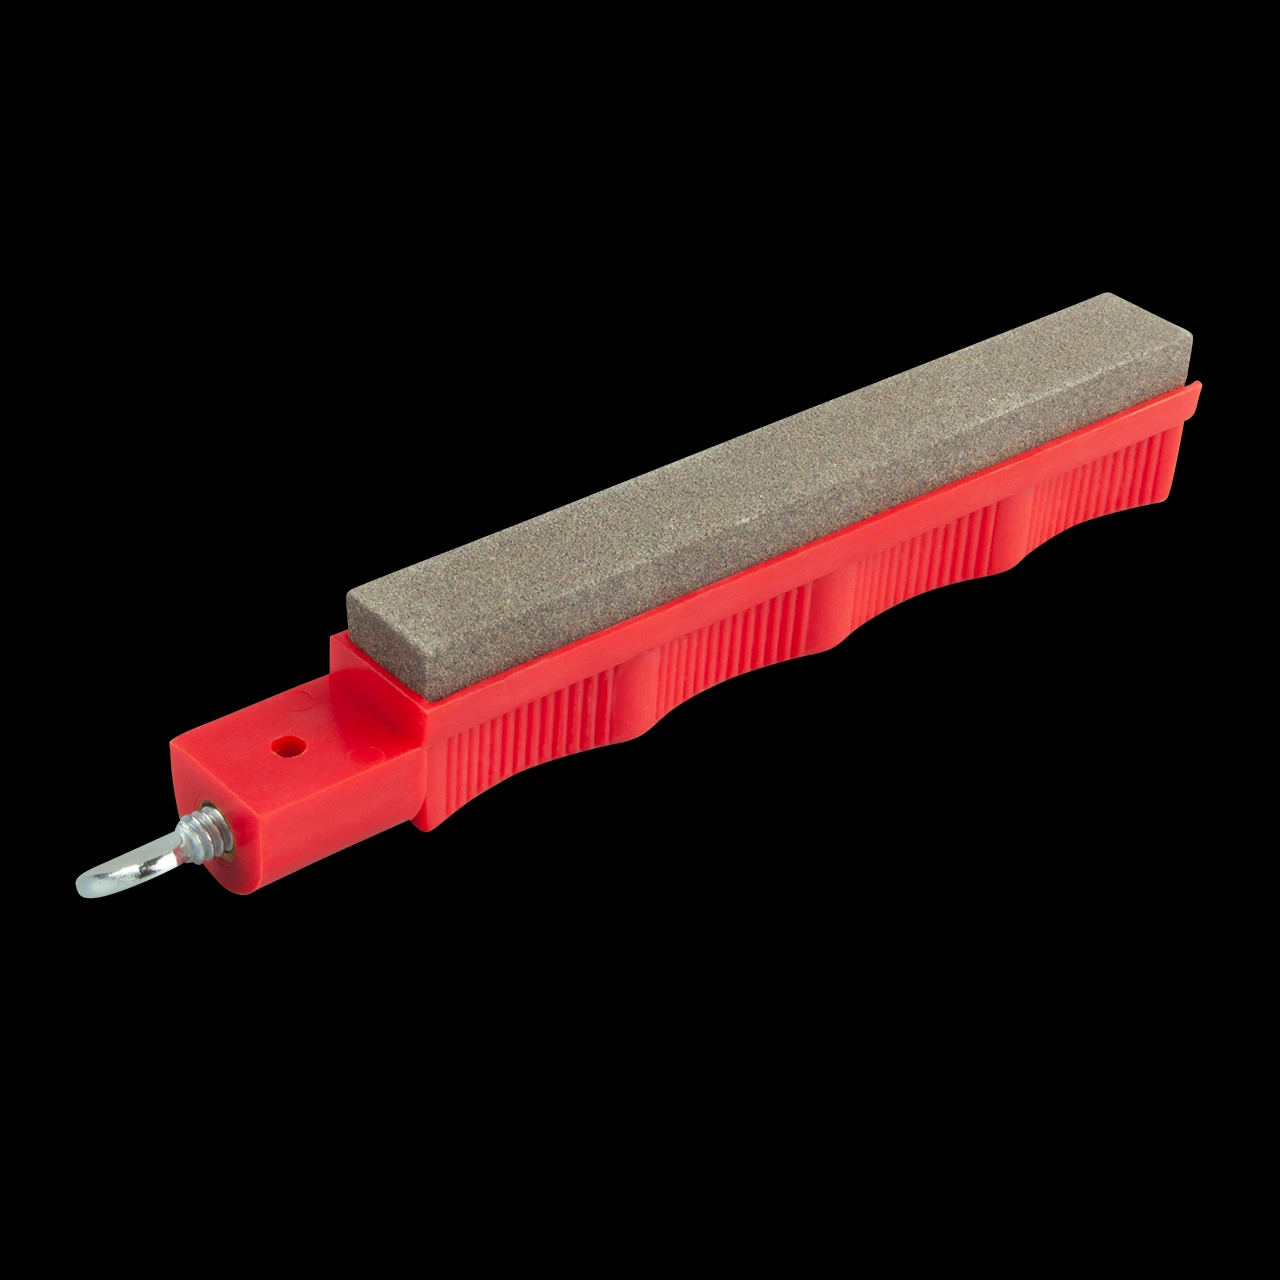
A sharpening steel, sometimes sold as a sharpening stick or honing rod, does a different job to everything else here. Confusing it with a sharpening stone is where a lot of people go wrong. A steel doesn't remove metal to cut a new edge. It realigns the microscopic edge of a blade that's rolled slightly out of true from ordinary use. Think of it as standing the edge back up straight, rather than sharpening it from scratch. That's why professional kitchens run a knife over a steel before almost every use, but only sharpen it properly every few weeks. The Lansky Sharp Stick is a medium grit handheld rod built for exactly that daily job, with a wooden handle for grip. The Work Sharp Ceramic Kitchen Knife Hone does the same job differently. It has a fixed 20° guide built into the rod, so realignment happens at a consistent angle without you judging it by eye. Either sits happily in a knife block between uses, rather than living in a drawer.
Maintaining sharp knives
The correct way to use a knife sharpener, whatever the format
It comes down to the same handful of habits repeated consistently. Keep the pressure light: a sharpener does the cutting, and your job is guiding the blade through it evenly rather than forcing it. Match the grit to the job, starting coarse only when the edge needs reshaping and reaching for fine grits for everything else. Clean the sharpener after use, whether that means wiping metal swarf off a ceramic rod or rinsing a stone. A clogged abrasive surface stops doing its job long before it looks obviously worn.
The best way to sharpen a knife for beginners
Skip the cheapest tool and skip the fastest one too. Reach instead for whichever fixed-angle system removes the guesswork as you learn what a sharp edge actually feels like, because that feel is what tells you when to stop. A rod system like the Sharpmaker or a clamp-based sharpening system teaches that feel directly. The angle's already set, so every improvement you notice comes from technique rather than luck.
Common mistakes when sharpening knives
Most sharpening frustration traces back to a handful of habits. It's rarely the tool. Watch for these mistakes:
- Starting at the wrong grit for the condition of the blade
- Applying heavy pressure instead of light, even strokes
- Skipping maintenance between full sharpening sessions, so a knife arrives properly blunt more often than it needs to
- Switching sides before a burr's actually formed, which leaves one edge under-sharpened
Fixing those habits solves most of what makes sharpening feel difficult.
Get the sequence right once and it becomes routine rather than a chore you put off until a knife won't cut at all. If you're not sure which format suits the knives you own, the Heinnie Kit Assist team can talk it through with you over a short video call, no sales script involved.
Disclaimer
This guide offers general advice on sharpening techniques and equipment. Always follow the manufacturer's instructions for your specific sharpener, and take care when handling blades. Heinnie Haynes accepts no responsibility for injury or damage arising from the information provided.
Why not check out our other great blogs For Gear Recommendations And Outdoor Survival Tips