Improving the Lansky system
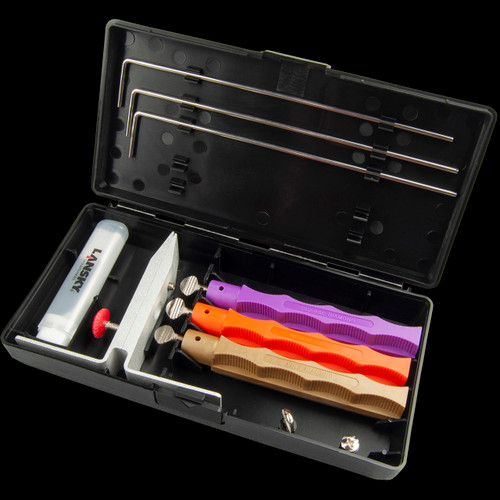
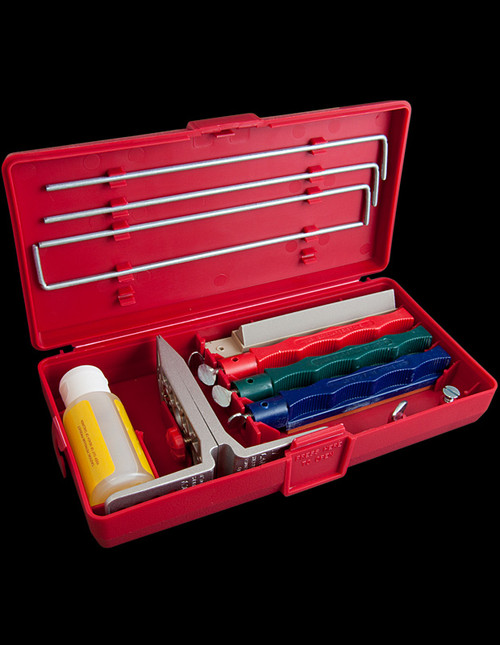
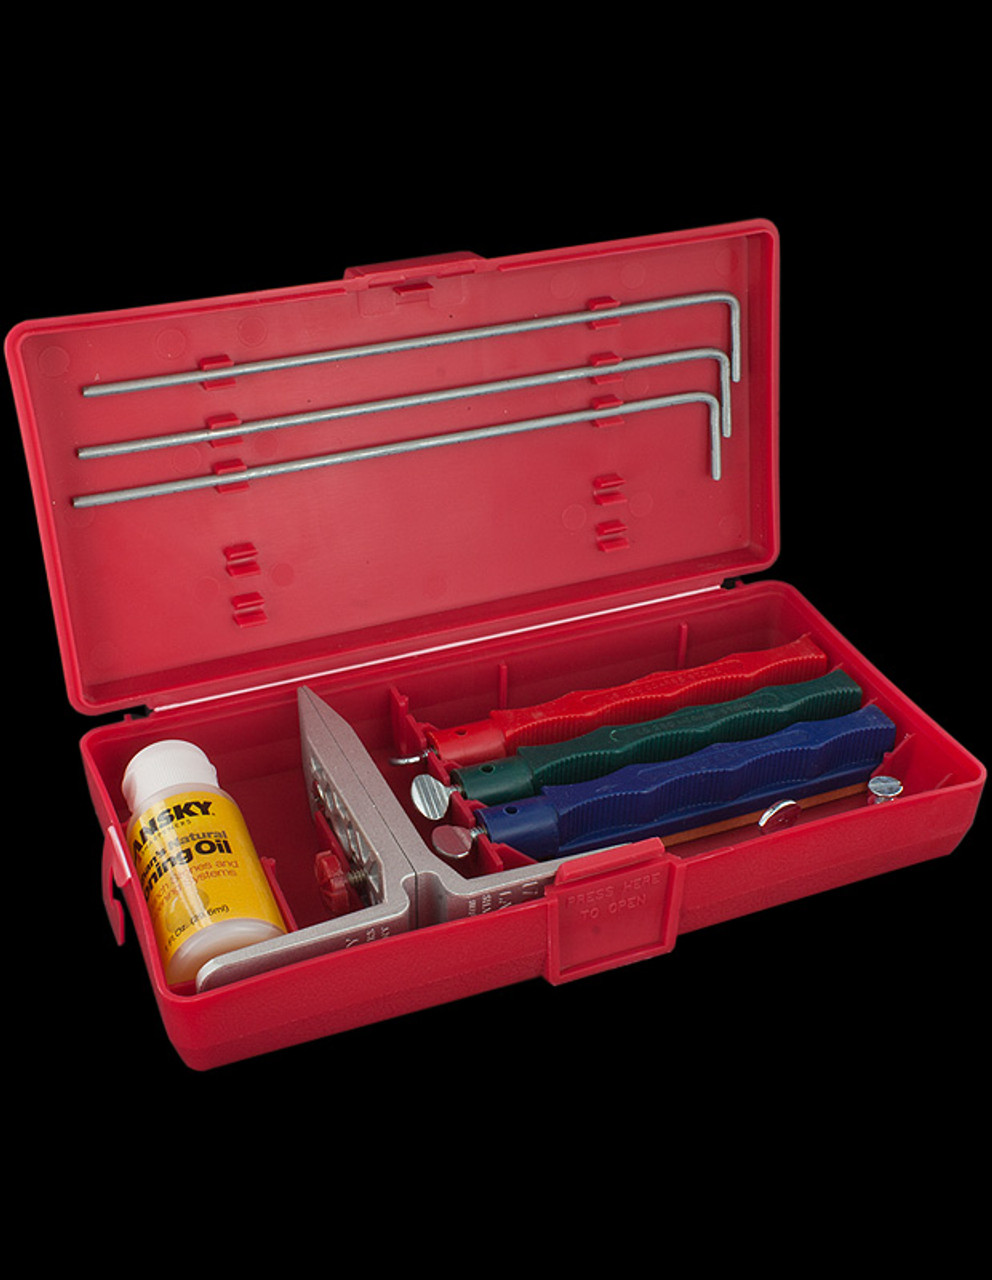
The Lansky sharpening system has been around since the 1980s and is very popular, for a couple of reasons. Firstly, it is quite inexpensive compared to more advanced systems like Wicked Edge. And secondly, it is pretty much foolproof. Freehand sharpening on bench stones takes quite a bit of skill and practice, but with the Lansky system, anyone should be able to produce good, consistent sharp edges, provided they follow the instructions (watching a couple of YouTube videos showing how it's done is also helpful). However, it is not perfect. Here are a few things I've learned after buying the standard Lansky kit and using it intensively to sharpen 50 or 60 knives “ and then redoing all the first ones I did after learning how to get much better results! 1. You pretty much have to mount the clamp on a pivot base, either one of the several different kinds available as accessories, or rigging something up yourself. The whole thing becomes a lot more stable and secure when it's mounted on a base. I got one of the aluminium mounts and screwed it down to a good solid block of beech, and it's so much better. You can hold the knife instead of the clamp, and you can also apply more pressure with the hone. Holding the clamp in one hand and moving the hone with the other “ yeah, it can be done, but it's not ideal, and it also means that you're trusting the clamp to hold the blade and not drop it onto your foot. I'd never use this system without a base now. 2. The thumbscrews on the clamp and hones are fiddly and inadequate. I got rid of them, tapped the holes to take standard M5 metric bolts, then installed some nice stainless hardware, which has several advantages. You can get replacement bolts anywhere, and use longer ones in the clamp for extra-thick blades. Using bolts with low-profile heads extends the range of travel of the hones, reducing wear on the middle and enabling the sharpening of longer blades. You can tighten all of the bolts with a 3mm hex key, which conveniently snaps into one of the spare guide rod clips in the lid of the case “ sweet! And you can get everything done up tighter, so you don't have knives coming loose from the clamp or the hone guide rods going wonky, which happens all the time using the standard thumbscrews and light finger pressure' recommended in the manual. 3. If you care about the finish on the sides of your blades, using the standard clamp with bare aluminium jaws is going to mark them up. Lansky sell a deluxe clamp with rubber inserts, but by all accounts the rubber comes off very easily. I've found that simply wrapping the clamp jaws with a piece of masking tape or PVC tape effectively prevents marking. 4. The fine hone which comes with the standard kit is 600 grit, which will produce a workable sharp edge, but if you want a real razor-sharp edge, you'll need to get either the 1000 grit ultrafine hone or the hard Arkansas hone, and be prepared to do some stropping afterwards. It just depends how obsessive you want to get with your sharpening. You will also need extra hones to deal with concave curved blades like karambits or pruning knives, or serrated blades.